The header is the first impression your website gives visitors. It sets the tone, establishes your brand identity, and helps users navigate your content. Creating headers in Elementor is a breeze thanks to its drag-and-drop interface and extensive customization options. This guide will take you step-by-step through the process in plain English so you can create a title that perfectly complements your website. [create header in elementor]
Table of Contents
Why use Elementor to build headers?
Elementor enables you to create beautiful and functional headers without touching a single line of code. Here’s why it’s a good choice:
Visual editing: See changes instantly as you drag and drop widgets, making the design process intuitive and efficient.
Extensive widgets: From logos and menus to icons and search bars, Elementor offers a wide range of widgets to bring your title visually to life.
Responsive Design: Make sure your header looks great on all devices, desktops, mobiles and tablets with Elementor’s responsive design features.
Seamless integration: Elementor integrates seamlessly with your WordPress theme, so your headers blend seamlessly with your overall website design.
Getting Started: Building a Header in Elementor
Now, let’s dive into the exciting part: creating the header!
- Visit the Elementor Editor: Navigate to your WordPress dashboard and open the page or post where you want to create a title. Click “Edit with Elementor” to launch the Elementor editor.
- Choose your layout: Elementor offers a variety of pre-designed header templates. You can choose a pre-made template as a starting point or build a title from scratch.
- Add a new widget: Drag the desired widget from the left panel to the header section. Common title elements include:
Logo Widget: Add your website’s logo to establish your brand identity.
Navigation Menu Widget: Create user-friendly menus for easy site navigation.
Search bar gadget: Allow visitors to easily search your site content.
Social Graphics Widget: Integrate social media graphics to increase user engagement.
Set header styles: Click each gadget to access its settings panel. Here, you can customize fonts, colors, spacing, and more to match your website’s brand aesthetic. Elementor offers tons of design options to personalize your header.
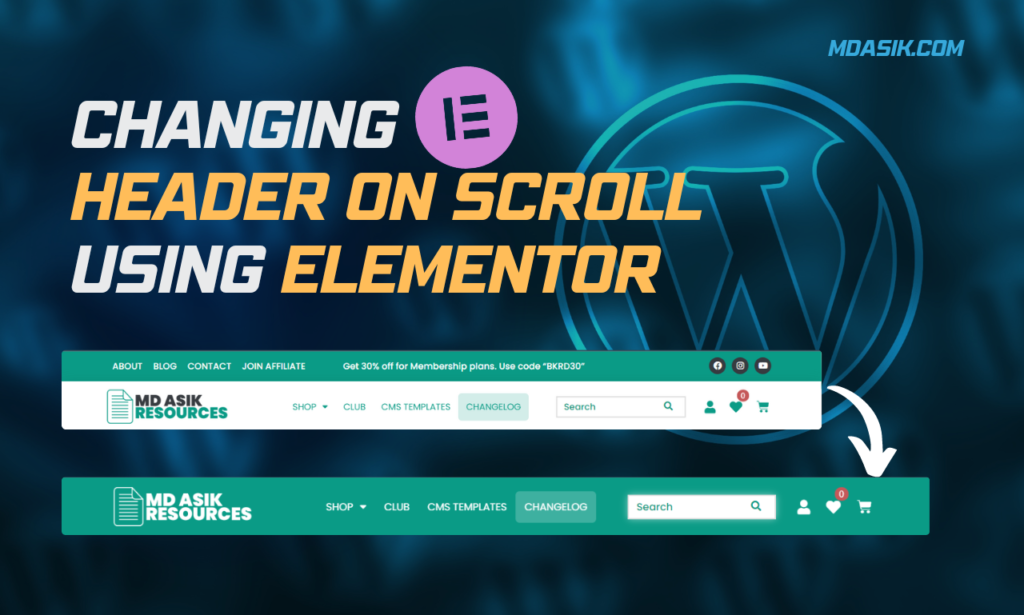
Create a sticky header (optional): Sticky headers stay fixed at the top of the page as the user scrolls down. This improves the user experience by keeping important elements such as navigation menus easily accessible. While Elementor doesn’t have a variety of sticky header option, you can achieve this effect using some CSS and Javascript
Adding Custom CSS
					<style>
.default-header {
  position: relative;
  z-index: 1;
}

.fixed-header {
  position: fixed;
  top: 0;
  z-index: 10;
  transform: translateY(-100%);
  animation: slideUp 0.35s ease-out;
}

.fixed-header.show {
  display: block;
  opacity: 1;
  transform: translateY(0);
  animation: slideDown 0.35s ease-out;
}

@keyframes slideUp {
  from {
    transform: translateY(0);
  }
  to {
    transform: translateY(-100%);
  }
}

@keyframes slideDown {
  from {
    transform: translateY(-100%);
  }
  to {
    transform: translateY(0);
  }
}
</style>
Explanation of the CSS Code:
.default-header: This class is for the initial header position..fixed-header: This class is for the fixed header when scrolling..fixed-header.show: This class is applied when the header becomes visible on scroll.@keyframes slideUpand@keyframes slideDown: These are animation keyframes to add sliding effects.
Adding JavaScript
					<script>
    document.addEventListener('DOMContentLoaded', function() {
  var defaultHeader = document.querySelector('.default-header');
  var fixedHeader = document.querySelector('.fixed-header');
  var offsetValue = 200; // Set your custom offset value here

  window.addEventListener('scroll', function() {
    if (window.scrollY > offsetValue) {
      fixedHeader.classList.add('show');
    } else {
      fixedHeader.classList.remove('show');
    }
  });
});

</script>
Explanation of the JavaScript Code:
document.addEventListener('DOMContentLoaded', function() {...}): Ensures the script runs after the page is fully loaded.var defaultHeader = document.querySelector('.default-header');: Selects the default header.var fixedHeader = document.querySelector('.fixed-header');: Selects the fixed header.var offsetValue = 200;: Sets the scroll offset value at which the header becomes fixed.window.addEventListener('scroll', function() {...}): Adds an event listener for the scroll event to toggle the fixed header.
Note: Add ‘HTML’ widget inside the container and paste the above css & javascript code.
					<script>
   // JavaScript
document.addEventListener('DOMContentLoaded', function() {
  var defaultHeader = document.querySelector('.default-header');
  var fixedHeader = document.querySelector('.fixed-header');

  window.addEventListener('scroll', function() {
    if (window.scrollY > defaultHeader.offsetHeight) {
      fixedHeader.classList.add('show');
    } else {
      fixedHeader.classList.remove('show');
    }
  });
});


</script>
Explanation of the JavaScript Code:
The script listens for thescrollevent.- When the page is scrolled past the height of the
.default-header, the.showclass is added to the.fixed-header, triggering the fade and slide-down animation. - When the page is scrolled back up above the height of the
.default-header, the.showclass is removed, hiding the.fixed-headeragain with a fade-out and slide-up animation.
Note: Add ‘HTML’ widget inside the container and paste the above css & javascript code.
Apply the Header to Your Site
Once you have designed and coded your header, you need to apply it to your site.
- In the Elementor editor, click on the “Publish” button.
- Set the display conditions (e.g., Entire Site).
- Save and close the editor.
Video Tutorial
Conclusion
Creating a header in Elementor is a straightforward process that allows for significant customization. By following these steps, you can create a dynamic and responsive header that enhances your site’s user experience. Adding custom CSS and JavaScript further improves the functionality, making your header more interactive and visually appealing.
Remember, a well-designed header not only improves navigation but also contributes to the overall aesthetic of your website. Happy designing!
I hope this article helped you to learn How to create header in elementor. If you have any doubts or problem with the code, comment below to find the solutions. Also share this blog if you find this useful.
Want to build professional website for your Business or Store, Get a free quote here
Click here to get Premium Plugins and Themes at rs.249. Get 20% Off on your first order “WELCOME20”