Want to install WordPress locally? XAMPP lets you run a website from your very own computer. And once you get it set up, you can spin up a new WordPress install with just a few clicks.
How to download Xampp in your PC?
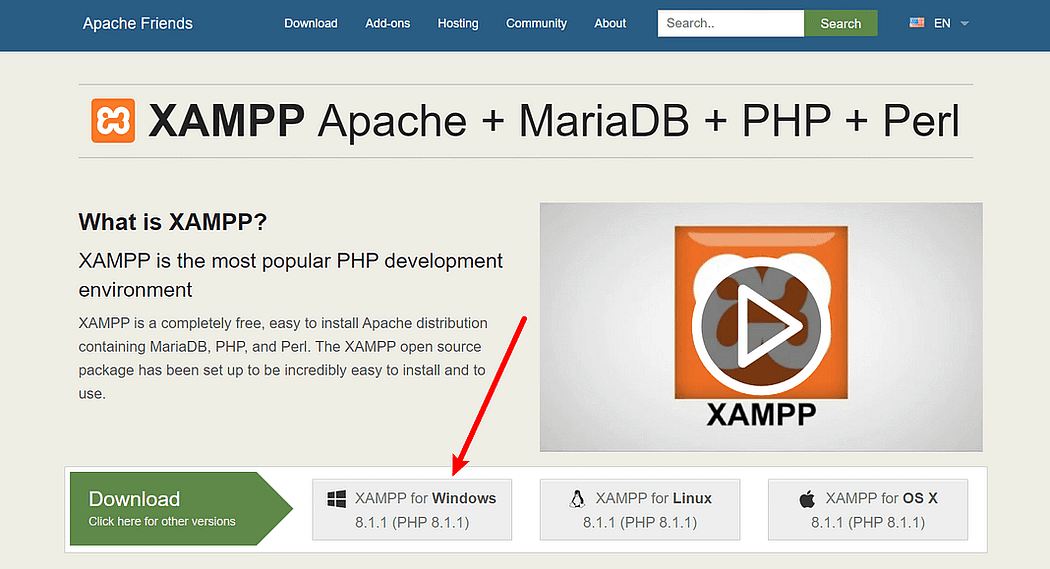
Step 1: Download
First you need to install the XAMPP software which let you install WordPress locally in your computer.
Step 2: Run .exe file
Once the software bundle has been downloaded, you can start the installation by double clicking on the file with the ending .exe.
Step 3: Deactivate any antivirus software

Click Yes to continue. You may also receive notification about User Account Control (UAC), depending on your Windows configuration. Keep up the good work. Once you have received all the instructions, you should see the standard installer screen
Step 4: Start the setup wizard
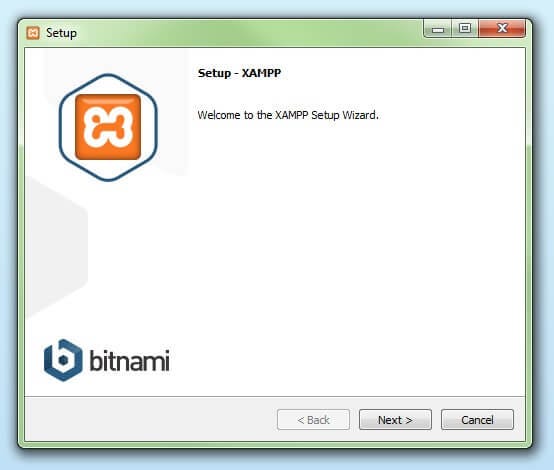
After you open the .exe file (disable your antivirus program (s) and take care of the user account control, the XAMPP setup wizard’s start screen will automatically appear. Click ‘Next’ to configure the installation settings.
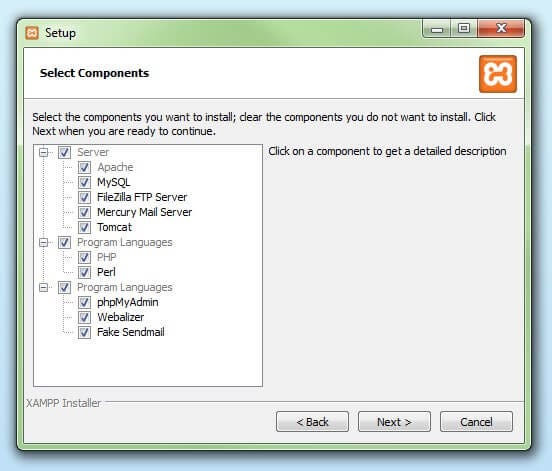
Step 5: Choose software components
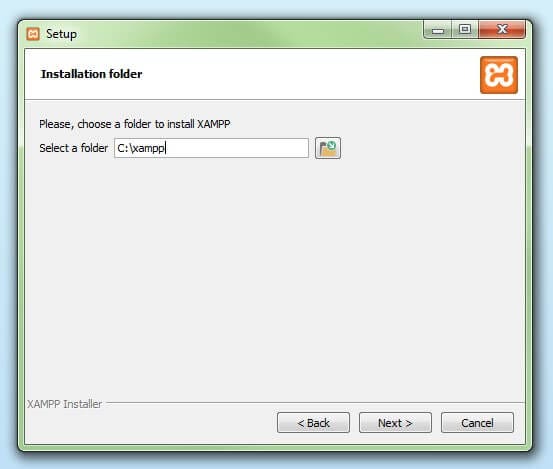
Step 6: Start the installation process
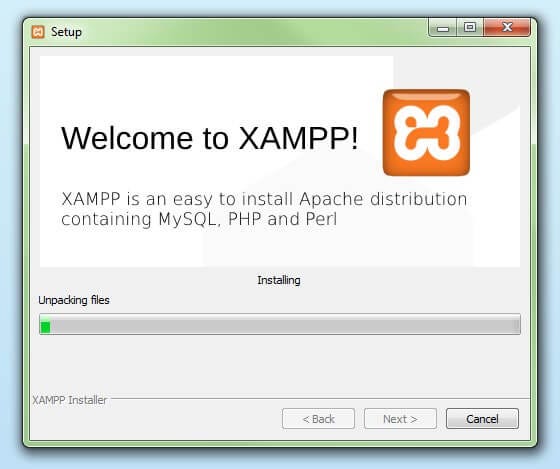
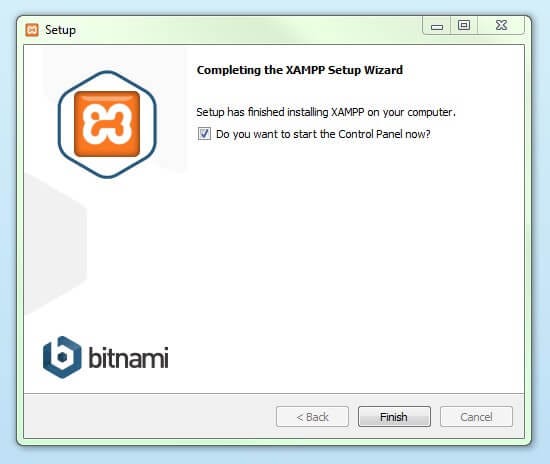
Once the installation is complete, we’re all set to use Xampp software in our PC.
Step 7: Start the modules and test your server
You can start both modules from the XAMPP control panel:
- Apache
- MySQL
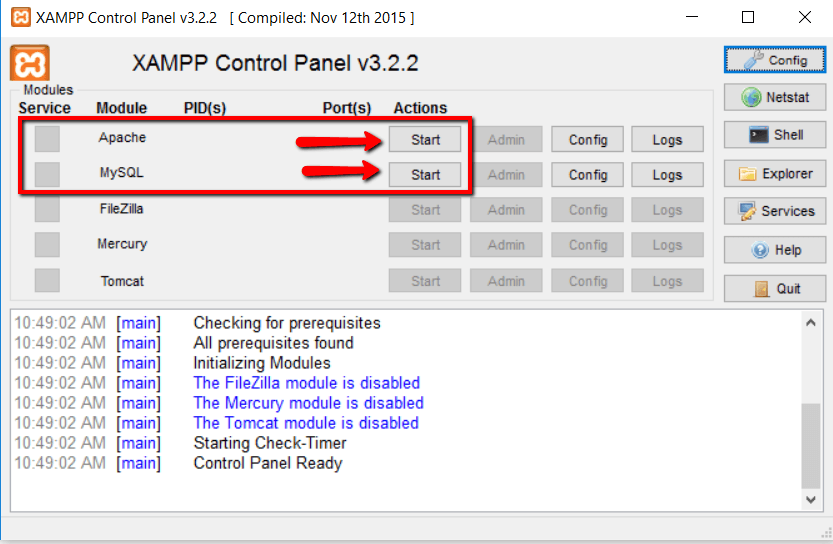
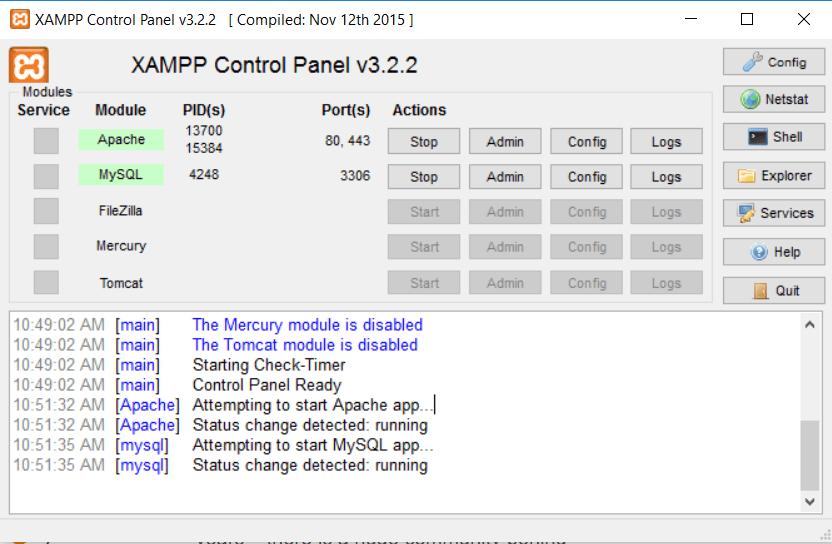
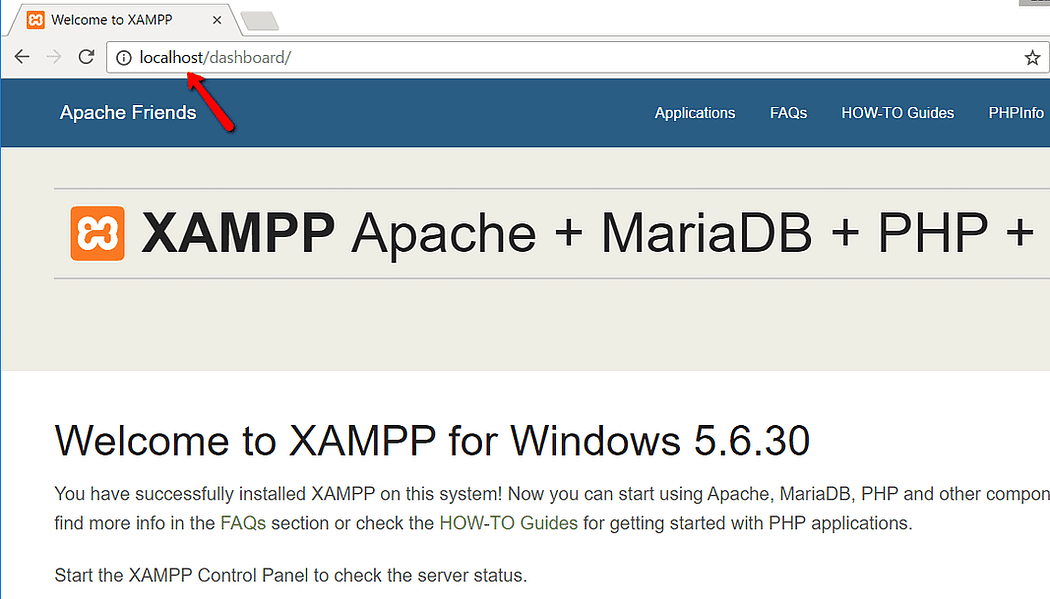
And now you should be able to test that your local server is working by going to http://localhost/ in your web browser of choice:
How to install WordPress in Xampp?
First, you will need to download WordPress. Visit the WordPress.org website and click on the ‘Download WordPress’ button.

After downloading WordPress, you need to extract the zip file, and you will see a WordPress folder. You need to copy this folder and paste the wordpress folder inside htdocs. The path for htdocs is C:/Program Files/XAMPP/htdocs or C:/Xampp/htdocs
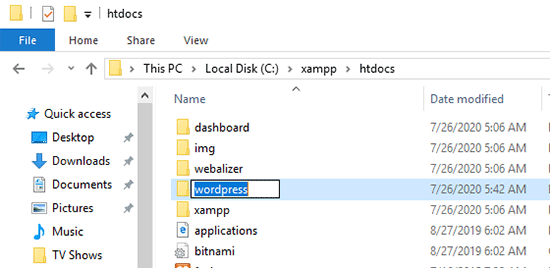
Now, you’ve to open your web browser and enter the following URL in your browser’s address bar.
URL: https://localhost/wordpress/
NOTE: [wordpress => ‘YOUR FOLDER NAME’]
This will load the WordPress installation wizard and you’ll be asked to select a language. After selecting a language, click on the ‘Continue’ button.
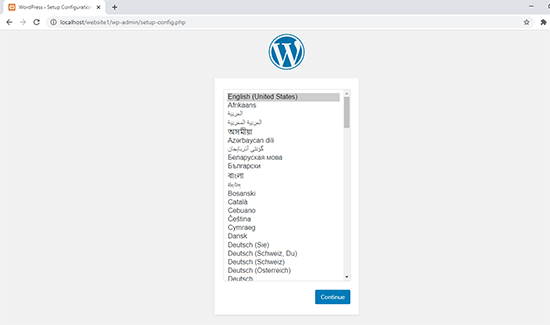
On the next screen, you will see a notice that WordPress needs a database name, database username, password, and host information.
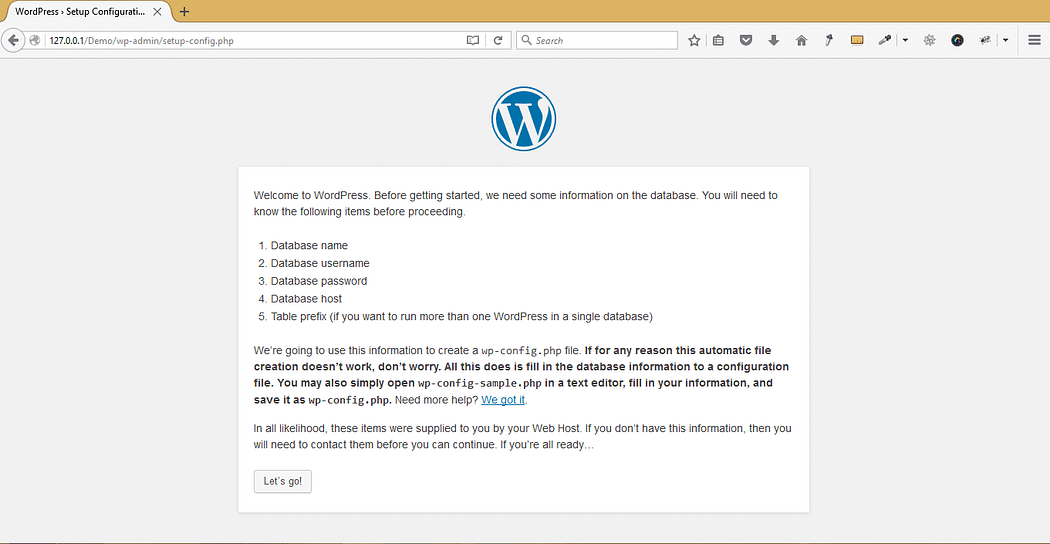
Let’s create a database for your WordPress site. You’ll need to open a new browser tab and visit https://localhost/phpmyadmin/
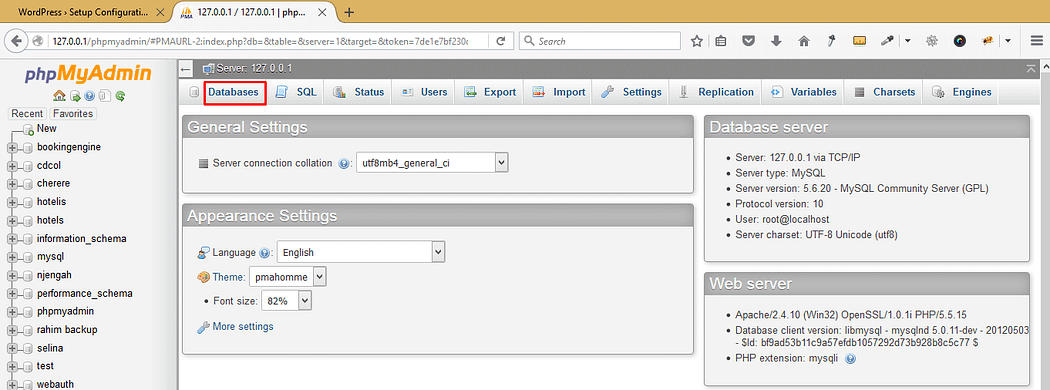
Click on the databases to begin creating the WordPress database and you should now fill out the name of your database and click create button;
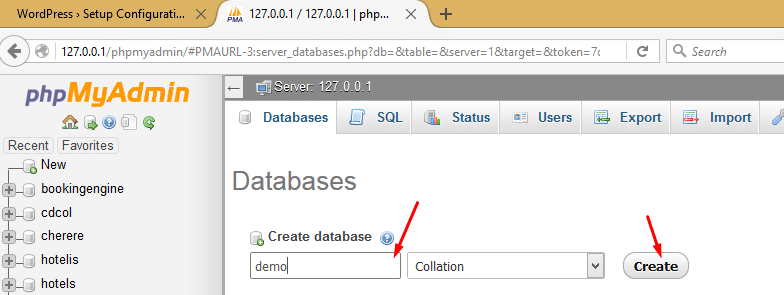
Now that you have created a database, you can use it for your WordPress site. Switch back to /localhost/wordpress/ browser tab and click on the ‘Let’s Go’ button.
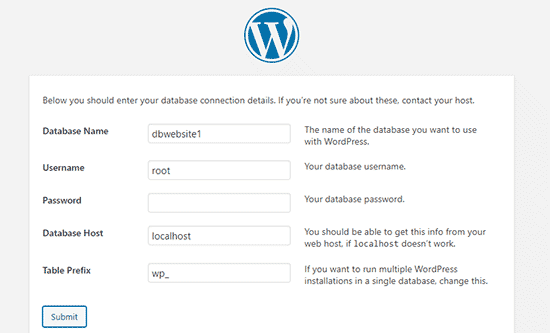
Enter the database name you created earlier. Your username is ‘root’ and you should leave the password field blank. For the database host field, you need to use localhost. Once you are done, click on the ‘Submit’ button to continue.
In the next step, WordPress will ask you to provide information about your website. First, enter the title you want to use for this site. After that, you need to enter a username, password, and email address for your admin account.
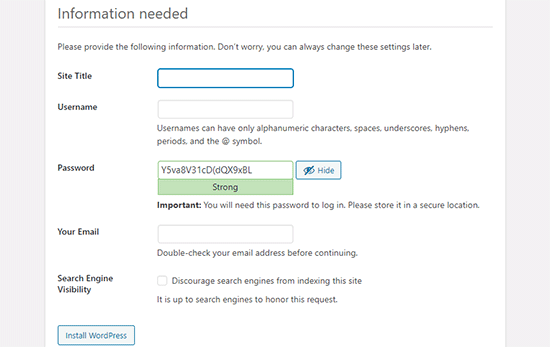
Once you have filled all the information, click on the ‘Install WordPress’ button to continue. WordPress will now run the installation and prompt you to log in once it’s done.
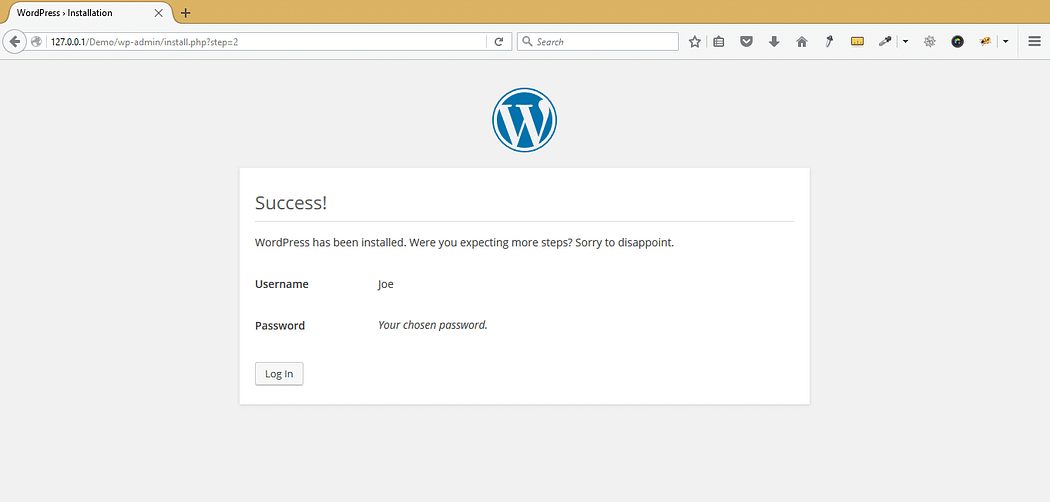
You can login to your website by going to /localhost/wordpress/wp-admin page and use the username / password that you entered during installation to login.
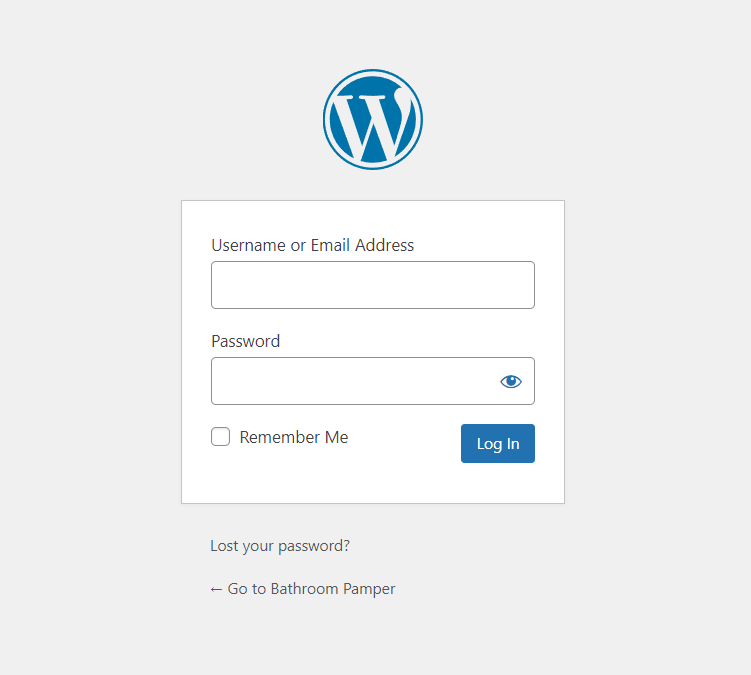
Once you entered the username & password and click LOGIN. This is your WordPress dashboard looks like
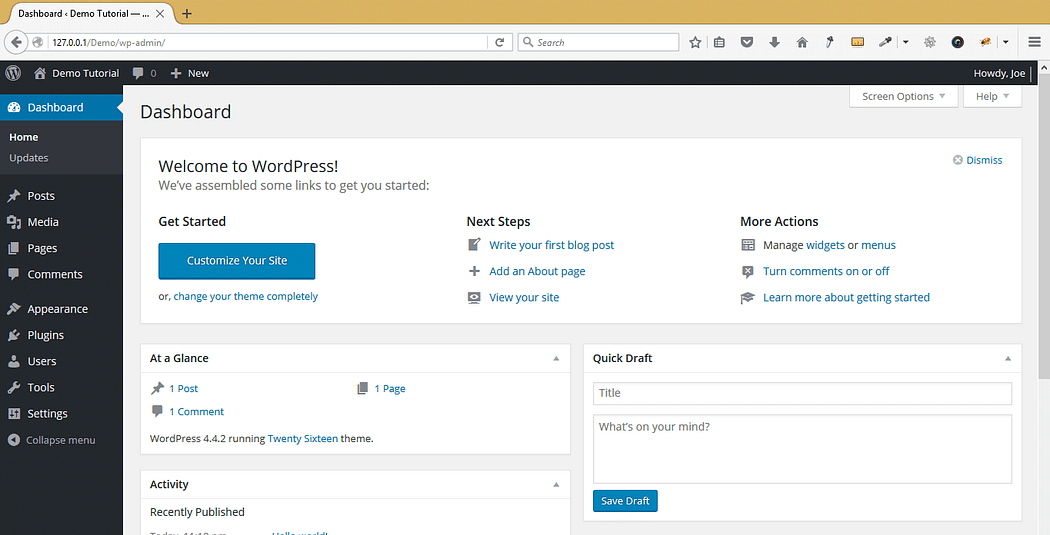
As you can see above we have successfully installed WordPress and login and everything works well.
I hope you learned some new things from this blog and set your WordPress site in your Computer. If you have any queries / doubts, please comment them below. I’ll try to answer your question ASAP.
Want to build professional website for your business, Get a free quote here

